
Hunt for Dublin Lotto Winner of €6.7 Million Jackpot
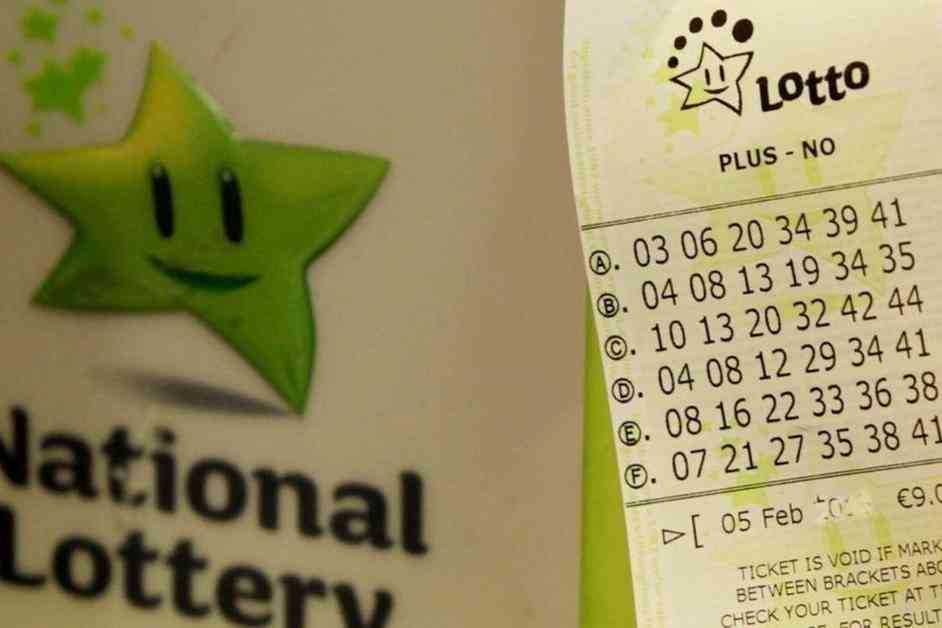
An online Lotto player in Dublin is celebrating after becoming Ireland’s newest multi-millionaire by winning the €6,756,855 jackpot in Saturday night’s draw. This marks the 6th Lotto jackpot win of the year so far, following wins by players in Dublin (3), Louth, and Limerick. The winning numbers in the draw were 8, 9, 14, 30, 42, 47, with the Bonus number being 16.
The National Lottery has confirmed that a notification and an email have been sent to the lucky Dublin online player. The winner is urged to get in touch with the National Lottery prize claims team either by calling 1800 666 222 or emailing claims@lottery.ie to make arrangements to claim their prize at Lotto Headquarters.
Over 87,000 players across the country won prizes in the Lotto and Lotto Plus games on Saturday, with the jackpot winner from Dublin emerging as the biggest winner of the night. National Lottery spokesperson Sarah Ruane expressed excitement over the latest jackpot win, stating, “One online Lotto player from Dublin has become the latest jackpot winner after scooping the massive €6,756,855 prize. This year has seen multiple jackpot wins by players in Dublin, Louth, and Limerick, with the latest winner now adding to the tally as the 6th Lotto jackpot winner of 2024. The winning ticket was purchased through the National Lottery app, and we have already reached out to the lucky player to notify them of their win.”
The Hunt for the Winner
Following the announcement of the significant jackpot win, speculation and excitement have been building as the hunt for the Dublin Lotto winner intensifies. As the National Lottery works tirelessly to locate the lucky player, the anticipation grows within the community. The atmosphere is filled with a sense of possibility, as dreams of what the winner might do with their newfound fortune begin to take shape.
Numerous theories and discussions have emerged about the identity of the mysterious Dublin player who holds the winning ticket. The speculation ranges from imagining a hardworking individual finally getting a well-deserved break to the excitement of a family or group of friends sharing in the joy of a life-changing windfall. Regardless of the specifics, the overarching sentiment is one of hope and celebration, as the winner’s story captures the imagination of the nation.
As the hunt for the Dublin Lotto winner continues, the National Lottery remains committed to ensuring that the prize is claimed by the rightful recipient. With the prize claims team on standby to assist the winner in collecting their winnings, the process is streamlined to ensure a smooth and efficient experience for the lucky player. The excitement and anticipation surrounding the hunt for the winner only serve to highlight the transformative power of a Lotto jackpot win and the positive impact it can have on an individual’s life.
Celebrating the Winner
The news of the Dublin Lotto winner’s success has sparked celebrations across the country as people come together to rejoice in the joy of a fellow citizen’s good fortune. From social media posts expressing congratulations to local communities organizing impromptu gatherings to celebrate the win, the sense of unity and camaraderie is palpable. The winner’s triumph is not just a personal victory but a shared moment of pride for all who participate in the Lotto and dream of striking it lucky.
The National Lottery has also expressed its delight at the latest jackpot win, highlighting the impact that such wins have on individuals and communities. The opportunity to change lives and fulfill dreams through a Lotto jackpot win is at the core of the National Lottery’s mission, and each success story serves as a testament to the power of hope and possibility. As the Dublin winner prepares to claim their prize, the focus remains on celebrating their achievement and the positive ripple effects it will have on those around them.
In the midst of the celebrations and excitement, the Dublin Lotto winner’s identity remains a mystery, adding an element of intrigue to the unfolding narrative. The anonymity of the winner allows for a sense of mystery and wonder to surround their story, as the nation eagerly awaits the reveal of the lucky individual. The anticipation only serves to heighten the sense of anticipation and excitement surrounding the hunt for the winner, as the spotlight shines on Dublin and the latest addition to the roster of Lotto jackpot winners.
As the hunt for the Dublin Lotto winner continues, the National Lottery remains dedicated to ensuring that the prize is claimed in a timely and efficient manner. The prize claims team stands ready to assist the winner in navigating the process of collecting their winnings, ensuring that the experience is both seamless and rewarding. The celebration of the Dublin winner’s success serves as a reminder of the transformative power of a Lotto jackpot win and the profound impact it can have on an individual’s life.
In conclusion, the hunt for the Dublin Lotto winner of the €6.7 million jackpot continues to captivate the nation as excitement and anticipation reach fever pitch. The mystery surrounding the winner’s identity adds an element of intrigue to the unfolding narrative, while celebrations and well-wishes abound for the lucky individual. As the National Lottery works to locate the winner and facilitate the prize claim process, the focus remains on celebrating the Dublin player’s incredible success and the positive impact it will have on their life. Stay tuned as the hunt for the Dublin Lotto winner unfolds, and a new chapter in the story of Lotto jackpot wins in Ireland is written.


